Map and Layer Settings
August 11, 2020
Making an awesome map doesn’t have to be difficult. Mapline will give you all of the tools that you need to create a map that’s not only functional, but also looks incredible. Your days of working with bland data visualization tools are over. Let us provide the wow factor for your data! In Mapline, you can adjust your map’s styling, positioning, and zoom settings all in one easy-to-access menu. To access the Map Settings menu, open up an existing map or create a new map. Then, once you have opened a map, select the “Options” button in the top left corner and choose “Settings.”
Map Settings
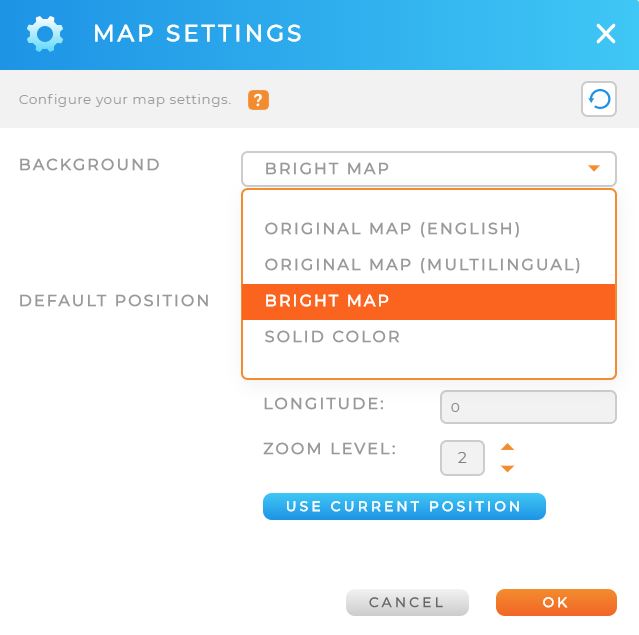
We have a few different styling options to choose from in our “Map Style” menu in addition to what is displayed by default. If you are working with global data, select our multilingual map style to display location titles in their native languages. If you want a brighter look for your map, try out our “Bright” style. To fully customize what appears on your map, select “Solid Color” and apply territories and data to your map as desired.
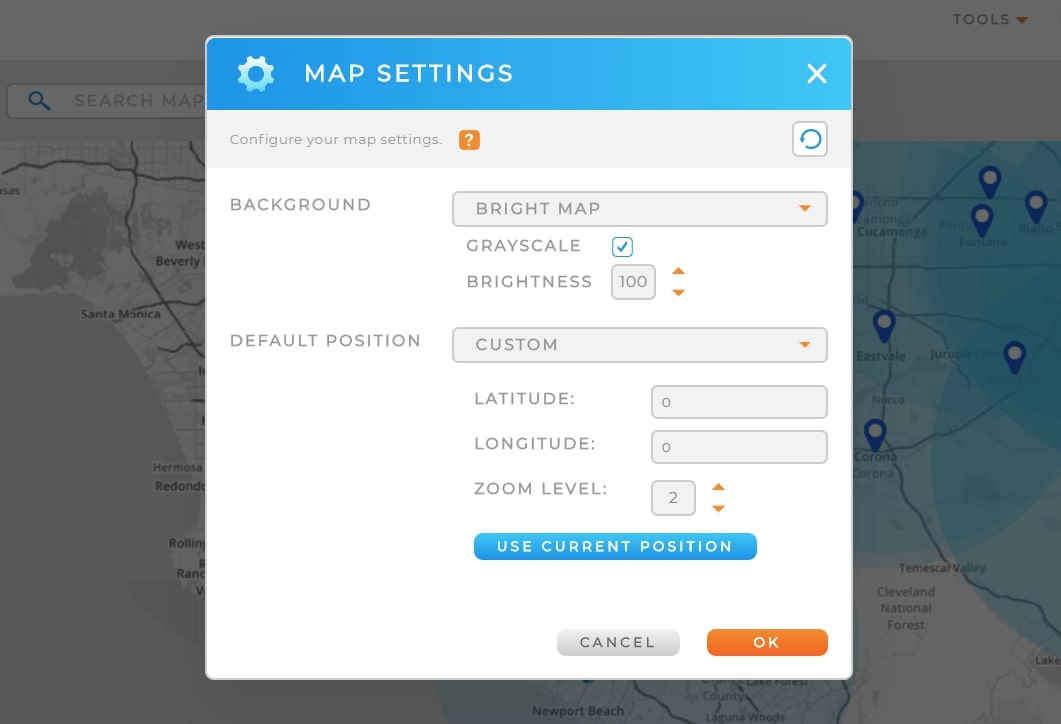
You’ll never have the hassle of having to scroll around and zoom to your data again! Customize your map position in our “Default Position” menu. By selecting “Auto,” the map’s position will be optimized based on the data displayed on your map. To fully customize the map’s display, style the latitude and longitude and zoom level accordingly – or choose the current position to always view the map at the level you are looking at. Additionally, you can even set the default position to “Most Recent” to always pick up where you last left off

Grayscale Application
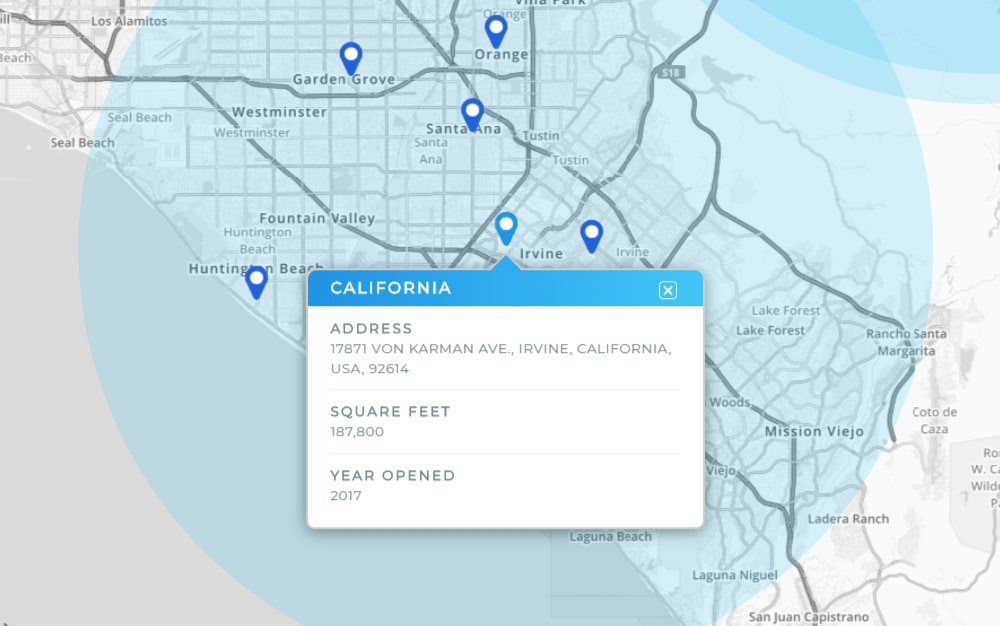
Want to make your map look sleek, but don’t want to distract from your data? Try using our grayscale feature for a clean design that will enhance the entire feel of your map. The best part? Grayscale can be used with any of our map styles! Simply toggle it on underneath the “Map Style” drop-down within the Settings menu, and voila! A whole new look and feel to your map with just the click of a button.


LAYER SETTINGS
In Mapline, each addition to your map (datasets, territories, shapes, etc.) creates a new layer. Each layer includes a “Settings” menu that will allow you to customize what appears when interacting with map features (such as datasets and territories). Adjusting these settings allows for your data to appear exactly how you’d like it to.
Want to disable expansion or visibility toggles in your sidebar? Or exclude data from autosuggest in your search bar? You can specify all of your practical map needs in the layer settings menu! Additionally, you can specify how your data appears in-map. Want to zoom to your data upon clicking on it? Or customize the pop-out functionality and hover behavior? You have full control over how your map functions.

LAYER VISABILITY
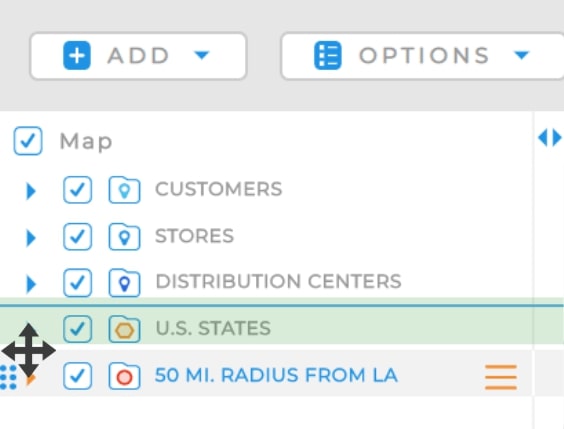
To customize the order in which your layers appear, you can simply drag and drop layers on top of one another within the map page. Organizing your map features is simple, just hover over the layer you want to appear on top, then click and drag it to the very top of the sidebar. Layers that you would like to appear underneath the top layer can be selected and dragged to the bottom of the sidebar.
For example, if I wanted a 50 mile radius circle surrounding the city of Los Angeles and I wanted to have the U.S. States on my map, I would need to drag the radius circle layer above the U.S. States layer in order to see it on the map unobstructed.

Learn More
Your maps have never looked this good! Discover more about how Mapline is working to transform how you interact with your data by setting up a time to talk with us. Reach out at https://mapline.com/support/.


