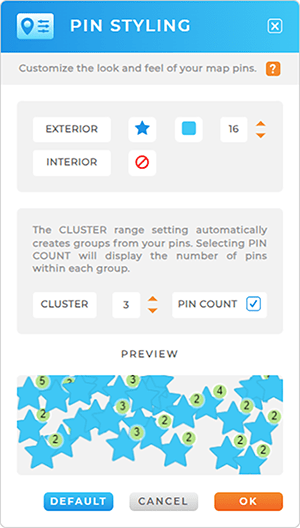
PIN STYLING
Look how simple the Pin Styling interface is! Now it’s easier than ever to adjust the appearance of your map pins.
Choose your pin shape, color, and size in seconds. Then, determine whether you want to group your pins into clusters, and click OK.
Is it just me, or is that even faster than before?
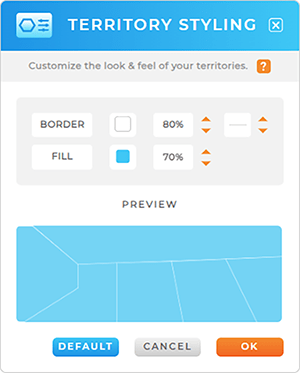
TERRITORY STYLING
Customizing the look and feel of your territories is even faster now, too.
Just select your border color, opacity and thickness, then adjust your fill color.
If you like what you see in the PREVIEW window, click OK, and watch your new territory colors appear on the map!
It’s as simple as that.
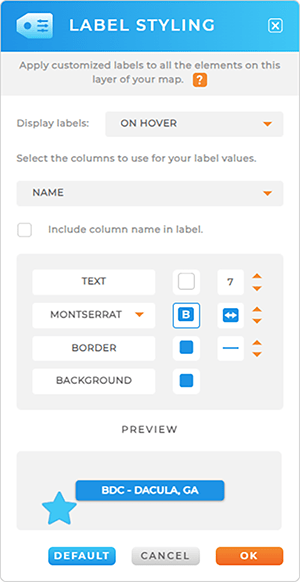
LABELS
Just like the old interface, you can determine when labels appear on your map: always, on hover, on click, or on both hover and click.
Next, easily pull your labels directly from your dataset columns. Just select the dataset column you need, then toggle the INCLUDE COLUMN NAME IN LABEL checkbox.
Configure your text, background, and border settings, and click OK.
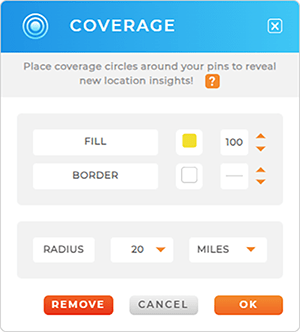
COVERAGE AREAS
Check out the newly-stylized Coverage lightbox!
Quickly select your desired fill and border color, fill opacity, and border thickness. Then, set the desired radius of your coverage area and click OK.
BAM! You’re done.