How-To Guide
Add a New Form
- How-To Guide
- ADD A NEW FORM
Create new forms in a flash! Forms are a powerful way to collect on-site data, empower team accountability, and eliminate data entry tasks in your organization.
Let’s create a form together!
ADD NEW ITEMS
There are two primary ways to add a new form in Mapline:
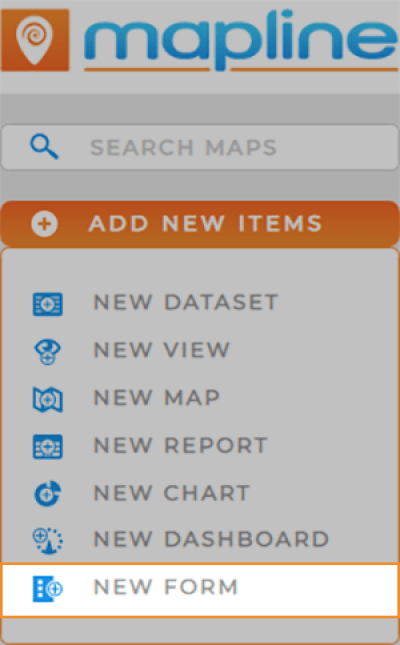
- Visit your Forms Library and click the orange Add New Items button in the right hand sidebar.
- Click the Mapline logo from anywhere in Mapline and select New Form from the dropdown menu.

NAME FORM
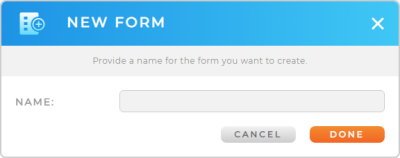
Name your form, then click the orange DONE button at the bottom-right of the New Form window.
Your new form opens automatically, so you can start customizing it right away.
It’s a good idea to choose a name that reflects how the form will be used. However, if you change your mind, you can always change the name later.

Pro Tip: Every new dashboard auto-saves to the Dashboards Library, where you can access it any time.
CUSTOMIZE YOUR FORM
Mapline dashboards are incredibly useful for sharing information with your team.
But before you start collecting data and sharing it, you’ll need to customize your form!
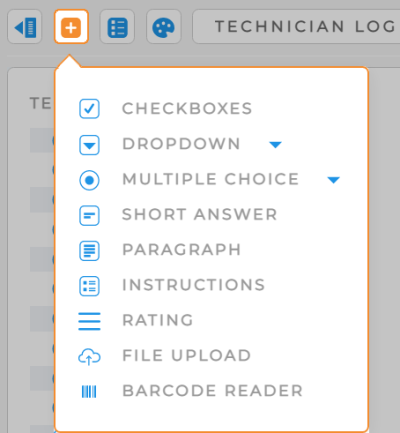
Click the orange + icon at the top-left of your form to add new fields. The following options appear in the drop-down menu:
- Checkboxes: Users answer a question with a series of checkboxes.
- Dropdown: Users choose from a drop-down menu. Create your own drop-down options or choose from Mapline’s pre-written menus.
- Multiple Choice: Users choose from a selection of multiple-choice answers. Create your own answers or choose from Mapline’s pre-written shortcuts.
- Short Answer: Users fill in their own custom answer with a short line of text.
- Paragraph: Users fill in their own custom answer with multiple lines of text.
- Instructions: Add instructions to guide users in filling out the form.
- Rating: Allow users to submit a number scale rating per your specifications.
- File Upload: Allow users to submit files. You specify the file type and max file size.
- Barcode Reader: Allow users to scan a barcode within this form and submit the results.
From here, customize your submission settings, add dynamic questions, or share this form with your team.


