How-To Guide
EDIT & STYLE ROUTES
- How To Guide
- Edit & Style Routes
Now that you’ve added routes to your map, it’s time to edit and style them for the utmost efficiency!
Let’s say your sales team has regular routes for their on-site visits. By customizing and styling your routes, you can prioritize time-sensitive client needs, optimize schedules,and ensure client satisfaction.
Explore the diverse route styling options available to tailor your maps according to your specific needs, enhancing navigation and decision-making for your team.
EDIT ROUTES
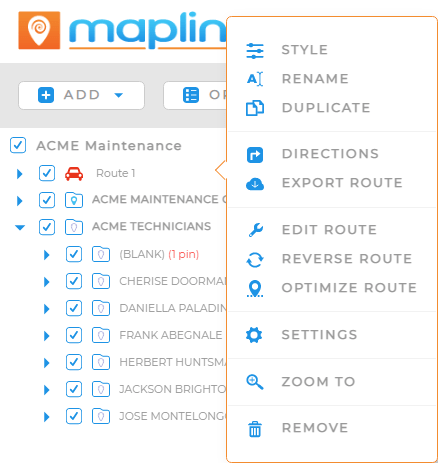
Right-click the route Layer Folder in your map sidebar to access even more customizations! In addition to styling, you can do any of the following with your new route(s):
- Rename
- Duplicate
- Generate directions
- Export to CSV
- Edit
- Reverse order of stops
- Re-optimize
- Customize Layer Settings
- Zoom in on your route
- Remove route
STYLE ROUTES
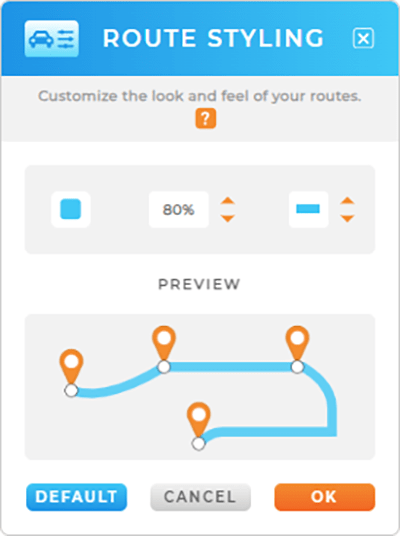
Adjust the color, transparency, and thickness of your route lines on the map for enhanced visibility.
Custom colors make it possible to visualize your routes, your way, so you can optimize everything, track driver progress, or visualize different drivers and delivery zones on your map.
You can also adjust your line transparency, which is a great way to reduce visual clutter.
