How-To Guide
Add a New View
ADD VIEW
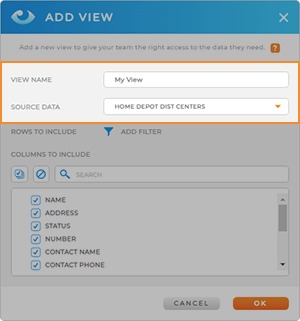
Name your view and select the source dataset you’d like to use.
The name you assign to your view will be the name that appears in your Views Library later on.
If the desired dataset contains sensitive information, don’t worry about changing the dataset itself. In the next steps, you’ll filter out any dataset columns you don’t want to share.
DATASET FILTERS
Configure your filters just as you would with any other filter in Mapline. (If you don’t need any filters, don’t worry about this step).
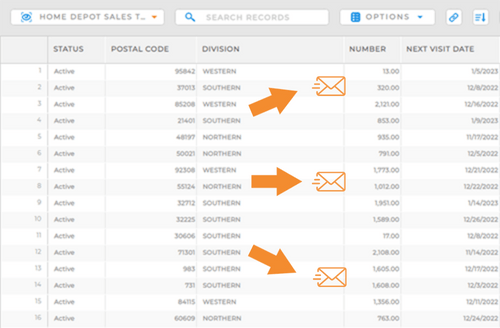
For example, maybe your sales team needs to make on-site visits to audit your stores. You want them to be able to see which stores are due for an audit, and you don’t want them to see any assignments that are blank.
When you’re finished, click the orange Next button.

DATASET COLUMNS
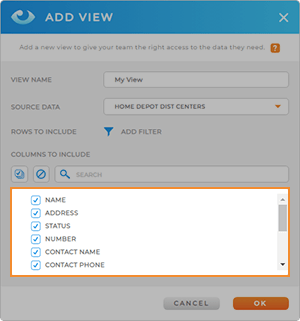
Select the dataset columns you want to include in your view. Simply uncheck the boxes you don’t want to share, then click the orange OK button.
WHAT’S NEXT?
Now this dataset has been assigned to a new view! This is just the first step in setting up advanced sharing permissions for your team.
Here are some powerful ways to start leveraging views:
- Share this view with your team
- Add visualizations to your view
- Sort or filter data
You now have the power to get the right information into the right hands in just moments.