Create an Instant Map of Job Locations
- How To Guide
- Create an Instant Map of Job Locations
Ever scrambled to fit in a last-minute emergency visit or dealt with a technician arriving on-site with the wrong vehicle or equipment? Without a clear view of your job locations, scheduling feels like guessing where to send your team, leading to inefficient routes and frustrated customers.
What if you could instantly map your job locations and service visits, all at a glance? No more guessing or mix-ups. You can color-code jobs by type, optimize coverage, and create smart territories based on technician specialties. It’s a powerful way to cover your service area and streamline your schedules.
Ready to take control? Let’s get started!
MAP YOUR JOB LOCATIONS
Instantly create a map of your job locations!
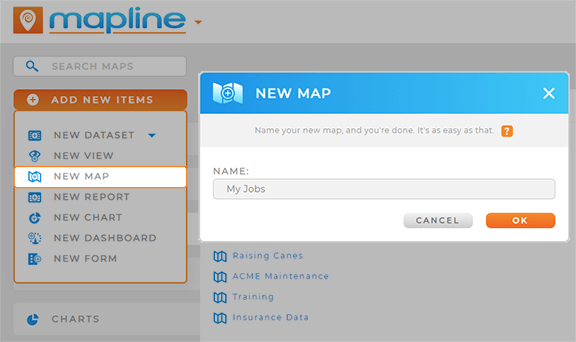
Start by creating a new map in Mapline and adding job locations using locations from an existing dataset. If you prefer, you can also import pins directly from a spreadsheet. Just click the ADD menu at the top left of your map, hover over PINS, and select FROM SPREADSHEET. Then, simply copy and paste your data, and you’re all set!
Repeat this step to add your service members’ starting locations to you map, giving you the power to map service coverage, run distance analysis, and more later on!

COLOR-CODE LOCATIONS
Now, you can color-code your job locations by job type! This is a fantastic way to visualize service distribution and identify certain market segments in a glance.
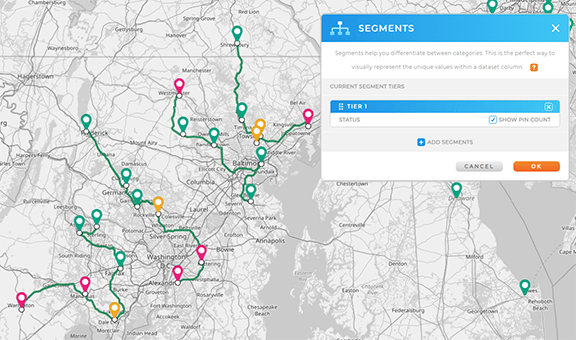
Select the pin layer on your map containing job locations and click SEGMENT. Configure your segmentation settings to color-code your pins based on the job type, then click OK.
Now your job locations will all appear a different color depending on the job type. And any time your dataset changes or new customers are imported, your map will update, too. How cool is that?

VISUALIZE SERVICE COVERAGE
Next, add coverage areas around your service members’ start locations to visualize your service coverage and identify any gaps in service.
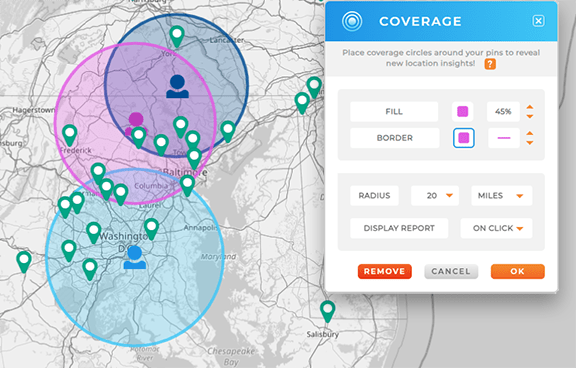
Click the pin layer folder containing your team members’ start locations and click COVERAGE. Customize your coverage area settings, then click OK.
Now, your map includes coverage areas! This is an incredible method for identifying ideal areas for growth and optimizing your service coverage to ensure efficiency and success!

CREATE SMART SERVICE TERRITORIES
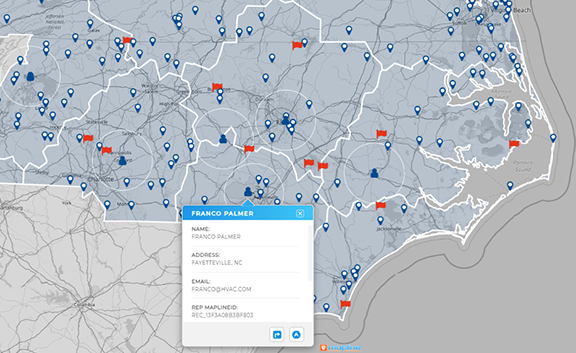
Alternatively, you can auto-generate territory boundaries around your technicians based on custom job assignments.
First, ensure your dataset lists your service members’ job assignments, so you can leverage this information to generate territory boundaries. Next, we’ll learn how to create territories from a column in your dataset, enabling data-driven boundaries that skyrocket your ROI.
First, click the ADD button at the top of your map, hover over TERRITORIES, then select USING MAP LAYER PINS.
Select the dataset containing service member locations as your source data, then select CREATE TERRITORIES SURROUNDING A SINGLE PIN. This option lets you draw territories around each service member’s assigned locations.

Next, apply any filter criteria you need, then define your outer boundary:
- PROVIDE AN OUTER BOUNDARY BUFFER DISTANCE: Specify a custom buffer distance around the edge of each territory. This creates clear, defined perimeters for each territory, preventing overlap or confusion.
- SELECT A TERRITORY TO USE AS THE OUTER BOUNDARY: Snap your boundaries to existing administrative boundaries, like county, zip code, or state lines. This ensures uniform maps without overlap and makes your territories easy to understand and manage.
There’s no better way to ensure each rep has a manageable area to cover, reducing travel time and increasing efficiency.

Pro Tip: Automatically assign new leads to the correct service member with automated lead scoring and assignments! This streamlines your schedules so you never have to think about which client to assign to which team member.


